These are the words of bass pro and fishing legend Mike McClelland in his book "Walleye Troubleshooting", and when I read the above passage a few days ago I was reminded of an experience I once had that illustrated this point perfectly.
It had been a slow start to the day. I'd started in the predawn light dawn by tossing topwater lures over the recently inundated grass in some small embayments without any real luck. A couple of half hearted smacks by some very small fish. As the sun had risen I had shifted my attention to a steeper section of bank, gently bumping small, lightly weighted soft plastics down the contours for one small bass and not much else.
By now it was mid morning, the sun was well overhead and I was having a coffee from the thermos while deciding on the next strategy. One thing I knew for sure - in this small clear water lake, at this time of day the Bass would be down deep. Until the sun was again low in the sky the two most likely places to find bass would be in the open water suspending above a thermocline, or along the steeper banks skulking around weed beds, under lillies or whatever timber they could use for cover.
The problem of fishing from a kayak was that I didn't have the benefit of a fish finder, so I had no idea of the depth of the thermocline or whether the fish were hanging there. There was a lot of open water out there, and I wasn't confident of locating the fish without my precious electronics, so I opted to fish along the steeply shelving banks. After an hour or so of casting spinnerbaits, crankbaits and soft plastics without joy, I eventually decided to cover more water and resorted to trolling a small deep diving crankbait behind the kayak.
I'd only been going about 15 minutes when I rounded a bend to find I had company - a couple of blokes in a small electric powered boat, trolling along. We exchanged pleasantries, and I was informed that these chaps had been fortunate enough to have some success on the bass that day. They had found that fish were suspending at around 15ft depth in small embayments that were steep sided and up to 40 ft deep. For me, that cut a lot of the guesswork out. It was a simple matter to find small, deep embayments, and with careful selection of a small deep diving crankbait I was saved from a fishless day by a couple of great bass.
Now, I probably could have caught fish by counting down a spinner bait, lightly weighted plastic or even a sinking crankbait, jerkbait or similar. But for me a floating/diving crankbait was the perfect choice. Why? Because it gave me much better control of the depth of the lure, so I knew it was always in the strike zone. And it allowed me to cover more water to find the fish, knowing all the while I was fishing at the right depth - all I had to do was paddle in a zig zag fashion across the bay while trolling the lure at a working speed.
Let's get down to it, hey?
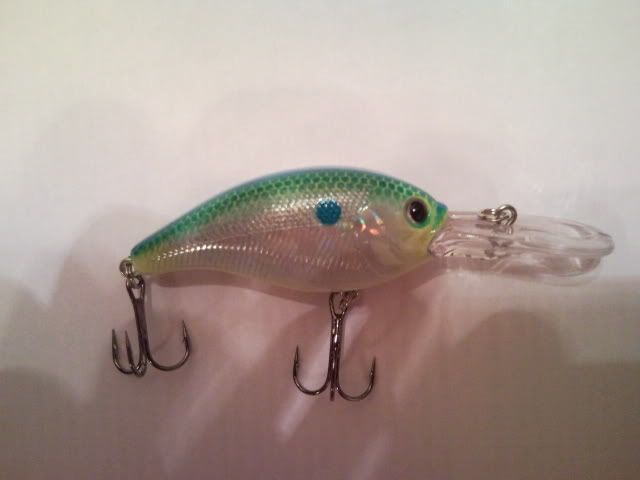
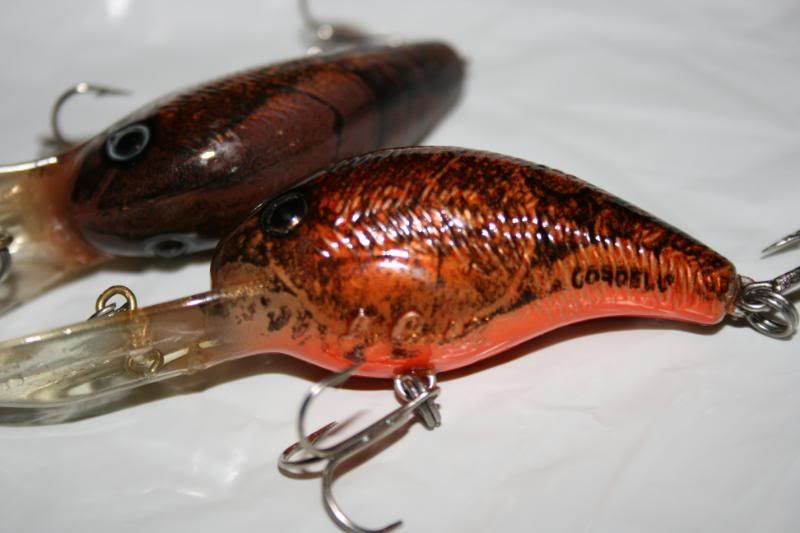
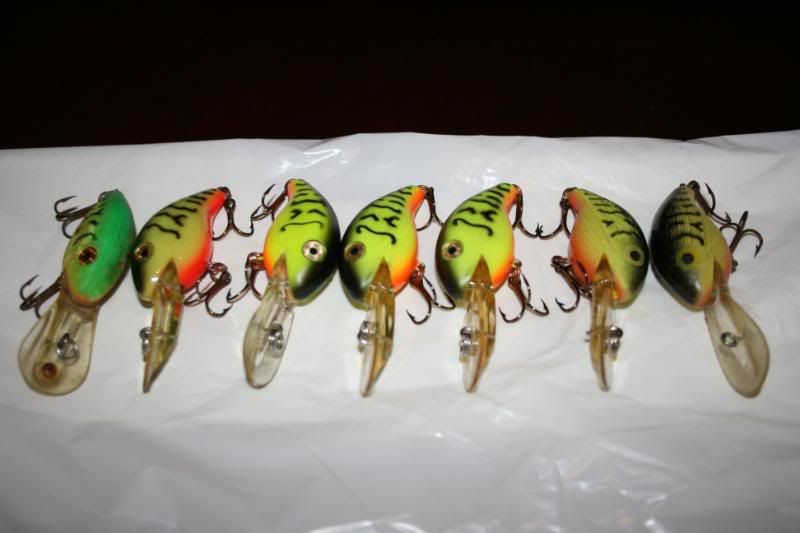
In this article I'll talk a bit about what I refer to as floater divers. That is, lures that float when they land on the water but dive under the surface with a swimming motion when you retrieve or troll them. We'll have a look at some design aspects that make these lures dive deeper. I'm not going to touch on sinking hard baits at this stage - I'll get to them in another article. On thing though: Be sure to read to the end of this article for one final gem of info from Mike McClelland.
Before we go any further though, here are a few other relevant facts that I've pulled our of Mike McClellands book. Mike undertook extensive testing of 200 of the best bass lures on five different line sizes with line lengths increasing in 10 foot intervals, and made some rather useful observations:
* The typical distance that most lures could be cast was 65 - 80 ft (20-25m), more with thinner lines, less with thicker. For every 10 feet of additional line out the depth increased by 10 percent, and vice versa for shorter lines.
* Provided the lure was worked at sufficient speed to impart a working action, the speed at which a lure was retrieved or trolled had minimal effect on the diving depth.
* The same lure can run at much deeper depths when trolled than when cast, as the length of line out can be much greater. With 100-130 feet of line out (30-40m), the dive depth of many lures was double that of a cast lure.
* About 25% of the line has been retrieved by the time that a cast lure reaches it's maximum depth. This is less of a problem when tossing hard baits from a boat toward the shore, as the depth of water is generally shallower at the end of the cast and deeper at the end of the retrieve. It has obvious implications for the shore based angler though.
Designing and fishing home made wooden lures for depth
I'll focus here on a few of the more important points for getting lures down deep, but there are plenty of other design aspects that can also help.
Bib area
Without a doubt, the single most important factor that decides how deep a wooden crankbait will dive is the combination of the surface area of the bib or lip and the location of the towpoint to which the line is tied. The bigger the surface area in front of the towpoint, the deeper the lure will dive, as a general rule. Here's the thing though. Put too much bib in front of the towpoint and the lure becomes unstable, must be worked very slowly and is prone to 'blowing out' during the retrieve. Too little surface area forward of the towpoint and the action is reduced or the lure may swim unnaturally.
Bib angle
It is urban myth that the angle at which the bib is set (ie how close it is to horizontal) is the main influence that affects diving depth. I know a lot of people will argue me on this, and it seems to fly in the face of your observations. Take a look at almost all deep diving lures made commercially and the bib is almost horizontal. Isn't that evidence enough?
Let me explain. What the bib angle does significantly affect is the width of the action and how fast the lure reaches maximum diving depth. A bib that is set close to right angles to the horizontal line will have a very strong action, wobbling widely from side to side. This lure will need to be fished relatively slowly to avoid "blowing out" (laying over on it's side) when the wobbling get out of control. The same lure with the same size and shape bib set nearly horizontal will have a much tighter action and will be much less prone to blowout.
Now consider this: increasing the surface area of the bib also increases the strength of the action because there is greater area forward of the towpoint for the water pressure to act on. Fitting a lure with a large bib set perpendicular results in a lure that can't be worked without blowing out. At the end of the day, if we as luremakers want to use a bib large enough to give us the dive depths we are looking for, we have no option but to set the bib close to horizontal. Full stop.
Lure balance
There are limits to how large a bib can be made before the lure becomes unbalanced. With very large bibs the drag becomes unmanageable and I've seen and used lures for Murray cod fishing that put up a better fish than the fish do!
Because you will be using a large bib to maximise depth, the action of the lure will be quite strong, so the problem of the lure becoming unstable and blowing out is more challenging. Most deep diving lures are fairly wide in the body, giving them extra buoyancy. Internally weighting them about 1/3 of the way back and keeping the weight close to the belly can make it more difficult for the lure to roll on it's side. This style of lure can cope with a bigger bib - but of course drag becomes more of a problem and trolling or retrieve speeds must be slower.
Bib shape
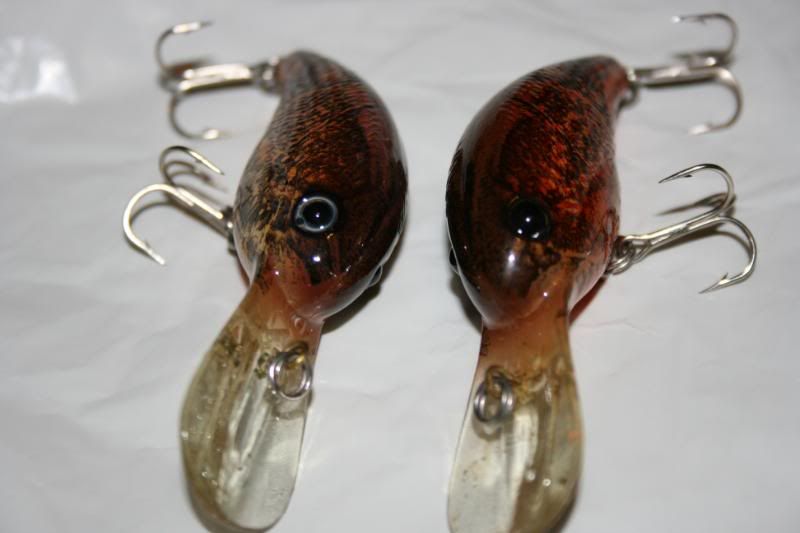
Bib shape is another important feature. A wide bib creates a wider, stronger wobbling action, which, whilst it might be desirable in many situations, can create such a strong action that the lure becomes unstable. a bib that is wider at the end and narrows close to where it joins the lure creates a more stable lure, allowing a bigger bib to be used. A bib that has a scooped shape (ie it curves up at the end) can help give lures a little extra diving depth as well.
So that's it, those are the basics of designing a deep diving hard bodied lure.
So now, what was that final pearl of wisdom from Mike McClelland?
"Trolling below suspended fish doesn't produce".
During his lure trials Mike caught 40 bass, and not one single fish had come from above the lure, every one of them had been beneath the lure when it was trolled past. Some had travelled up to 30 ft (10m) to take the lure, while other fish were much closer to the lure but didn't strike it because it passed beneath them.
This mirrors my own experience in almost every circumstance. We need deep diving lures to get down close to suspending fish, or those hugging the bottom or structure, but be careful not to go too deep - allowing the lure to pass beneath the fish will hurt your catch rates.
Dr Greg Vinall has been hand crafting custom fishing lures for decades from both wood and plastic. Why? Because he's proven time and time again that custom fishing lures allow you to catch more fish, bigger fish and have a HUGE edge over competitors and fishing buddies who use off the shelf commercial lures.
Greg now shares the substantial lure making skills and knowledge that he has amassed over this time through his web site and articles.
If you found the content of this article informative and would like to receive similar wooden lure making information via email, you can subscribe to Greg's weekly wooden lure making tips by completing the online form at
http://www.makebetterfishinglures.com/woodenlures.html
Article Source: http://EzineArticles.com/?expert=Greg_Vinall
TNFC92UVQYCW
see my previous post :
Sea Fishing Tackle Basics For Anglers


{ 0 comments... read them below or add one }
Post a Comment